

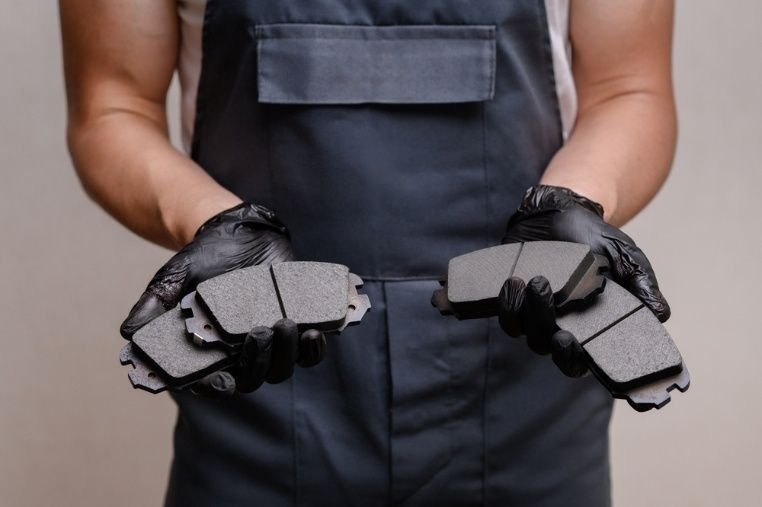
Brake pad replacement is a job almost every car owner runs into sooner or later. Pads don't fail overnight; they wear down slowly, which is exactly why it's easy to put off replacing them until a small issue becomes a much bigger repair bill. In this guide, we'll cover the signs of worn brake pads, what you can actually expect to pay, and how to replace brake pads yourself if you're up for tackling it in the driveway.
The sooner you catch the signs of worn brake pads, the cheaper and easier your brake pad replacement will be. Put it off too long, and you risk damaging your rotors and calipers too, which turns a quick ix brake pad into a far more expensive one. Your ears, your steering wheel, and your stopping distance will usually tell you something's wrong before a mechanic does.
That high-pitched squeal you're hearing? It's likely the wear indicator scraping against the rotor, and it's your cue that brake pad replacement is due soon. Grinding is a different story altogether. It means the pad material is already gone, so metal is now grinding directly on metal, and that damages rotors fast.
Feeling a pulse or shudder through the pedal when you brake? That's often a sign of uneven pad wear or possibly warped rotors underneath. It tends to get worse the longer you ignore it, so if you're noticing this, it's a good time to get brake pads scheduled before it costs you more.
Notice your car taking a little longer to come to a stop than it used to? Worn pads simply can't generate the friction they once could. This one's a safety concern above all else, so don't wait around; get your brake pad replacement handled right away. If you're not sure, test your brakes somewhere open and empty first.
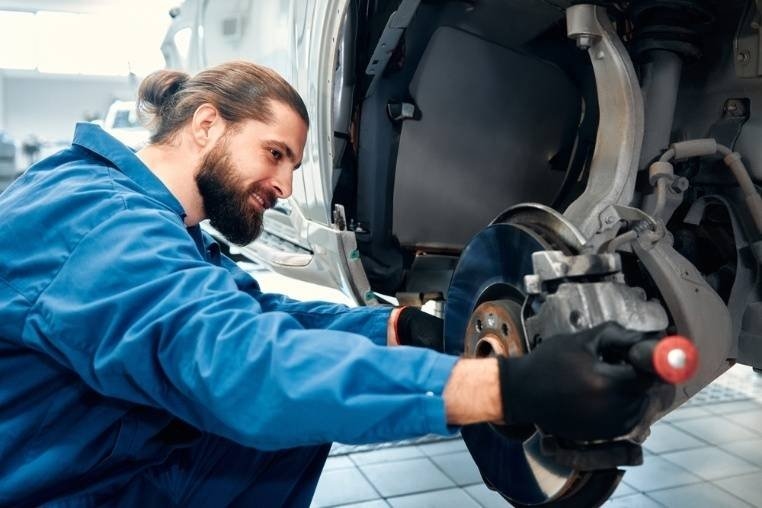
If you're handy and don't mind getting under the car, learning how to replace brake pads yourself is a great way to save on labor. Most people can knock out one axle in an hour or two once they've got the hang of it. Just make sure you're working on flat, level ground and taking the usual safety precautions seriously.
Before you get started, round up a jack, jack stands, a lug wrench, a C-clamp, and pads that match your vehicle's specs. Having it all within reach saves you from stopping halfway through, and it keeps the how to replace brake pads process from turning into a frustrating afternoon. Don't skip the gloves and safety glasses either.
Start by loosening the lug nuts, then jack up the car and pull the wheel off to get at the caliper. Unbolt it carefully, and hang it from something sturdy with wire so it's not dangling by the brake line. While you're in there, take a second to check the rotor for any obvious wear.
Use the C-clamp to press the caliper piston back in, slot the new pads into place, and bolt the caliper back on securely. Before you drive anywhere, pump the brake pedal a few times to build pressure back up, then take it slow in an empty lot to make sure everything feels right. Do the same on the other side.
Don't Miss: Car Insurance Coverage: What It Covers, Costs & Excludes
Knowing the brake pad replacement cost ahead of time makes it a lot easier to plan, whether you're calling a shop or picking up parts yourself. The cost of brake pad replacement really comes down to your vehicle, the pad material you choose, and who's doing the actual labor.
| Service Type | Estimated Cost (Per Axle) |
| DIY with parts only | $30 to $100 |
| Shop labor plus parts | $150 to $300 |
| Luxury or performance vehicles | $300 to $600 |
Labor is really what drives the price difference here, so going the DIY route is where most of your savings on the cost of brake pad replacement will come from. Just keep in mind that rotors, calipers, or premium pads can bump that number up, so it's worth getting a full quote before you commit.
The "best" brake pad really comes down to how you drive. Someone doing mostly highway miles has very different needs than someone stuck in stop-and-go traffic or towing a trailer every weekend. Before you buy, it helps to know how the main pad materials differ in noise, dust, stopping power, and price.
These are the quiet, clean options. Ceramic pads throw off less dust and tend to outlast other materials, which is why a lot of mechanics point daily commuters and city drivers toward them—especially on newer vehicles. The tradeoff is cost; they're usually the priciest choice on the shelf.
Built for heat and heavy use. These hold up well under hard braking, which makes them a go-to for trucks and anything doing regular towing. The downside is they're louder and dustier, so you'll probably be cleaning your wheels more often.
The softest and quietest of the bunch, organic pads work fine for light, easy driving around town. They also wear down faster than ceramic or semi-metallic, so if you go this route, expect to replace them more often—though they're usually the cheapest upfront.
There's no single answer—it depends on your driving style, the terrain, and how heavy your vehicle is. As a rough range, most pads last somewhere between 25,000 and 70,000 miles. Steady highway driving with light braking tends to land you near the top of that range. On the other hand, city traffic, mountain roads, or frequent towing will wear pads down much faster, often closer to the 25,000-mile mark.
It pretty much boils down to how comfortable you are, what tools you’ve got, and how much time you actually want to spend crouched under the car. A clean pad replacement is very doable for someone who’s handy with basic equipment and has a safe spot to work. But if you’re seeing warped rotors, smelling a faint burn from brake fluid, or hearing noises that don’t really line up with normal pad wear, then it’s smarter to pass it on to a pro who has the right diagnostic gear.
Also Read: What are the Best Car Maintenance Tips for Beginners?
Pay attention, and also use your hands a little—listen for squealing, grinding, or even a brake pedal that shakes. If it takes longer to stop than it used to, or the whole feel seems off, that’s a good sign you might need new pads. Catching these early usually means a simpler, cheaper fix instead of damage spreading to your rotors or calipers.
At a shop, expect somewhere around 150–300 per axle for parts and labor combined. If you're comfortable doing it yourself, that cost can drop to roughly 30–100, depending mostly on which pad material you choose.
Yes, for most people this is a manageable job with basic tools—a jack, a C-clamp, and a lug wrench. If you haven't done it before, it's worth watching a tutorial or two first and taking your time around the caliper.
Generally 25,000 to 70,000 miles, but your actual mileage depends a lot on how and where you drive. Highway driving stretches that number out, while city braking or towing shortens it noticeably.
For most everyday commuters, ceramic pads are the popular pick—quiet, low-dust, and long-lasting. If you're driving something heavier or towing regularly, semi-metallic makes more sense. And if your driving is light and low-key, organic pads can do the job just fine.
This content was created by AI