

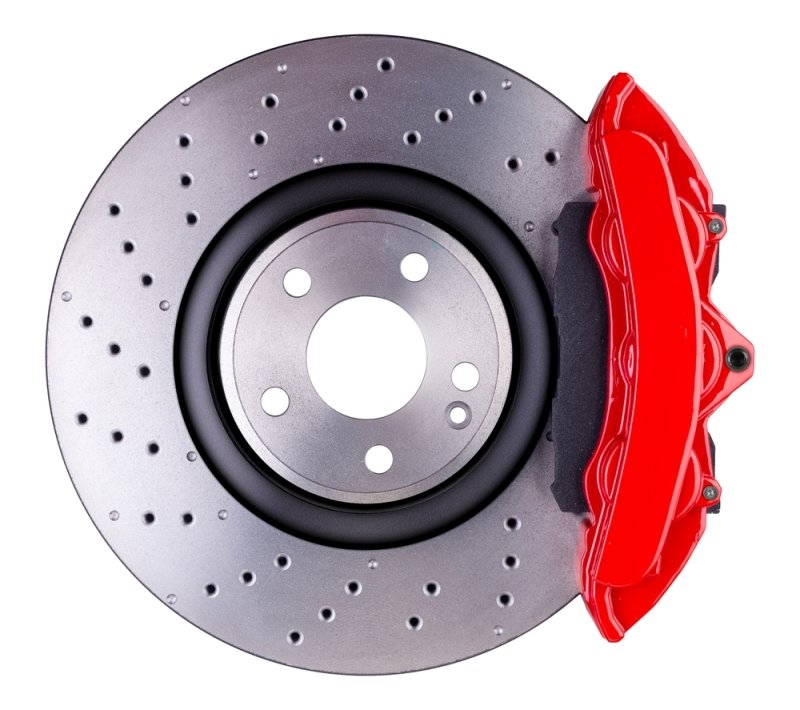
The brake rotor is a critical component of the brake system. Every time you step on the brake pedal, the rotor is compressed by the brake pads, and this is the force that helps to slow down or stop the car. Brake rotors, like other vehicle parts, wear down over time, which decreases your car's braking performance and potentially compromises safety.
Most sources suggest most brake rotors have a lifespan between 30,000 to 70,000 miles based on driver habits, road conditions, and vehicle make and model. If you are noticing vibration when braking, screeching sounds, and if your stopping distance has significantly decreased, then it may time for a Rotor Replacement.
Here in this guide we'll cover exactly How To Replace Brake Rotors in an easy-to-follow 15-step process. Whether you are a beginner DIYer or a pro, this can be of use to you.
Begin by parking your car on a level surface. Shut the engine off and put the parking brake on. Working on the brake system requires the vehicle to be perfectly steady, thus placing wheel chocks behind the tires, which will be used for some other purpose, will prevent it from rolling when being lifted.
Once the vehicle is in position, loosen the lug nuts of the wheel for a quarter turn using the wrench that comes along with your vehicle. DO NOT remove it yet since it will make the removal of the wheel difficult later.
Raise the vehicle with the floor jack in the manufacturer recommended position and lower onto the jack stands. NEVER get under or near any vehicle being supported solely by the floor jack.
Completely remove the lug nuts from the studs, remove the wheel from the car, and position it a safe distance from your workspace.
After the wheel is removed, you can clearly see the brake caliper, the brake pads, and the brake rotor. Look closely, taking a picture if you want to, before disassembling any further.
Unscrew the caliper mounting bolts using the proper size socket and wrench. Pull out the brake caliper away from the rotor; don't let it hang on the brake hose. Instead, suspend the caliper using a wire or a bungee cord from the suspension components.
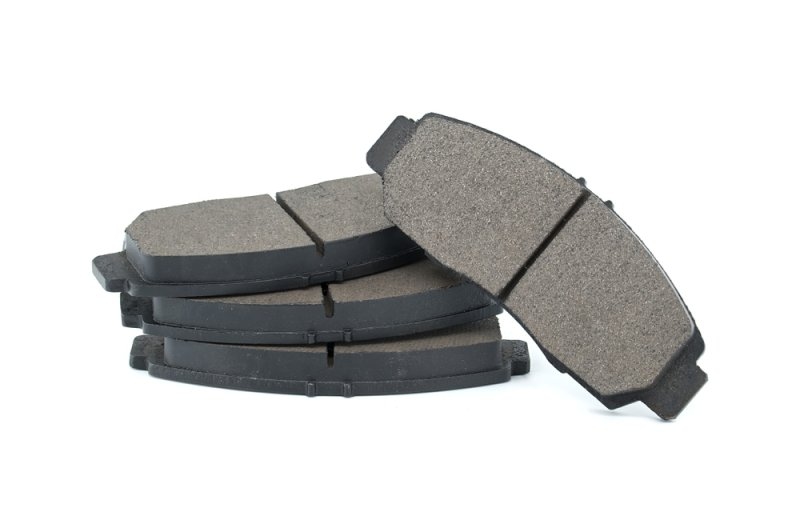
Pull out the brake pads from the caliper and inspect how much meat there is on them. You will probably want to replace them while you're there if you're doing a Rotor Replacement, because if you need new rotors, you will probably need new brake pads as well.
Remove the bolts for the caliper bracket. These are usually tighter than caliper bolts. Keep them at a secure spot for re-installation.
The rotor should now easily pull off. If it is corroded and stuck, use a rubber mallet to tap it loose or gently hit on its edges. A rusted-on rotor is a very common reason to need a Rotor Replacement.
Use a wire brush to clean rust, dirt, and debris off of the wheel hub. If it isn't perfectly clean, your new rotor may not fit flush, and this can cause brake pulsation and uneven wear. Taking a few minutes to clean it well can prevent a great deal of headaches.
New brake rotors often have oil on them to prevent rusting during transit. Use brake cleaner to spray off the oil and then wipe it away with a clean cloth. To avoid this, a rotor that has an oily film on it would not work well. You should also change the oil quite often to maintain high performance.
Place the new rotor onto the wheel hub. It should slide easily onto the wheel hub studs. No excessive effort should be required, and there should be no play in the rotor.
Mount the caliper bracket back onto the wheel hub and tighten its mounting bolts to manufacturer specs. Place the brake pads in their respective slots in the bracket.
To be able to fit the new rotor back on the caliper piston will need to be pushed back into the caliper bore. To do this you will use either a brake piston compression tool or a C-clamp. Replace the caliper onto the rotor and tighten the caliper mounting bolts. Tighten using a socket and a wrench, and be sure that all the hardware is tightened correctly.
Reinstall the wheel, and hand-tighten the lug nuts onto the studs. Lower the vehicle. Then use the wrench to tighten the lug nuts until they are snug. Put them to the final tightness according to manufacturer recommendations and do it in a star pattern. Pump the brake pedal until it feels firm, then try the vehicle by taking a short test drive and listening for any weird noises.
Essential Reads: Learn How to Change Engine Oil for Better Car Performance
Doing a Rotor Replacement yourself is not an impossible task, and learning how to do it yourself can save hundreds of dollars on labor. By taking each step seriously you can safely complete the repair and get the performance of the braking system back. Safety first, organization, cleaning the contact surfaces, and the final brake test are essential components. It is always important to know when to replace rotors, but signs like vibration while braking, grating sounds, a damaged rotor, or poor stopping power should never be ignored.
As technology in the car is increasing, drivers have become reliable to have good information sources to perform the vehicle maintenance and care more precisely. Various websites are making it much easier for you to research procedures for parts and also get a better insight to the auto mechanics industry before undertaking the work yourself.
You certainly can, although it is often recommended by mechanics that when you replace your rotors you should replace your brake pads as well. This is because your old pads are likely to have an uneven wear pattern, decreasing the lifespan of your new rotors and the quality of the braking in general.
For a typical passenger vehicle, a rotor replacement should only take anywhere from one to three hours, but the task could be more lengthy if bolts are rusted or stuck. However, it also depends on the condition of the rotor that is being replaced.
Your new rotors are properly installed when you aren't getting any vibration during braking, no grinding sounds, and the car doesn't pull when braking. Your brake pedal will feel firm. If it pulls to one side and makes unusual sounds, your assembly likely needs further inspection before driving the car.
This content was created by AI